Choosing the right page builder for WordPress
So we’ve kind of made an executive decision for you and decided we are going to go with WordPress. This is an article about building a site on the cheap after all.
So the next big question you have to face is if you want to use a theme from the WordPress repository, or a page builder.
To answer this question you need to know a little about how these work first.
WordPress Theme
You can think of a WordPress theme as a pre built website. A designer has already come up with the user interface (UI) and the user experience (UX) already.
They have decided on colours, layout, everything you can think of.
There is a theme repository that is already installed when you install WordPress and you simply have to browse through the thousands of options they have and pick on you like. Hit “Install”, Active it and hey presto, you have a brand new looking website.
It’s easy, fast, and can suit some businesses to a tea.
Pros:
- It’s fast
- Everything is done for you
- You can often tweak things slightly to get the adjustments you need
- It’s easy
Cons:
- If you don’t know html, css, or php it is near impossible to make bigger changes to the theme if it hasn’t been setup this way
- You get what you see, and nothing else.
Page Builder
There have an influx of what we call page builders on the market in the past few years, and with good reason.
It gives the users the ability to create the look and feel of a site they want without needed to know any code. In some builders knowing the code can help, but in most cases it doesn’t matter.
Pretty cool right?
Most of the page builders come with some kind of yearly or once off purchase to keep the updates flowing, but some don’t. Here are some of the more popular ones.
Elementor

This is the default page builder most people think of when someone mentions page builders. It packs a punch and you can pretty much do most things you want inside it’s walls.
It installs as a plugin and you need to run it with a theme installed.
It’s very intuitive and can you can easily get up and running pretty quickly.
There are two options, one a free version and a pro version. The pro version will set you back around $60USD a year, but you get heaps for that price.
This works like all other page builders with “widgets” dragged onto a canvas that shows the page you are working on. It’s not that different to how Word works, but will take a little while to learn the ropes.
Pros:
- It’s easy to learn
- It has heaps of widgets and even more in pro mode
- You can visualise exactly how the final result will look across different sized devices
- It’s drag and drop
Cons:
- It can run slow when loading that page to work on it
- The website speed takes a massive hit and you need to jump through heaps of hoops to speed up the loading of the site
- The output code is not considered “clean” and semantic
Bricks Builder

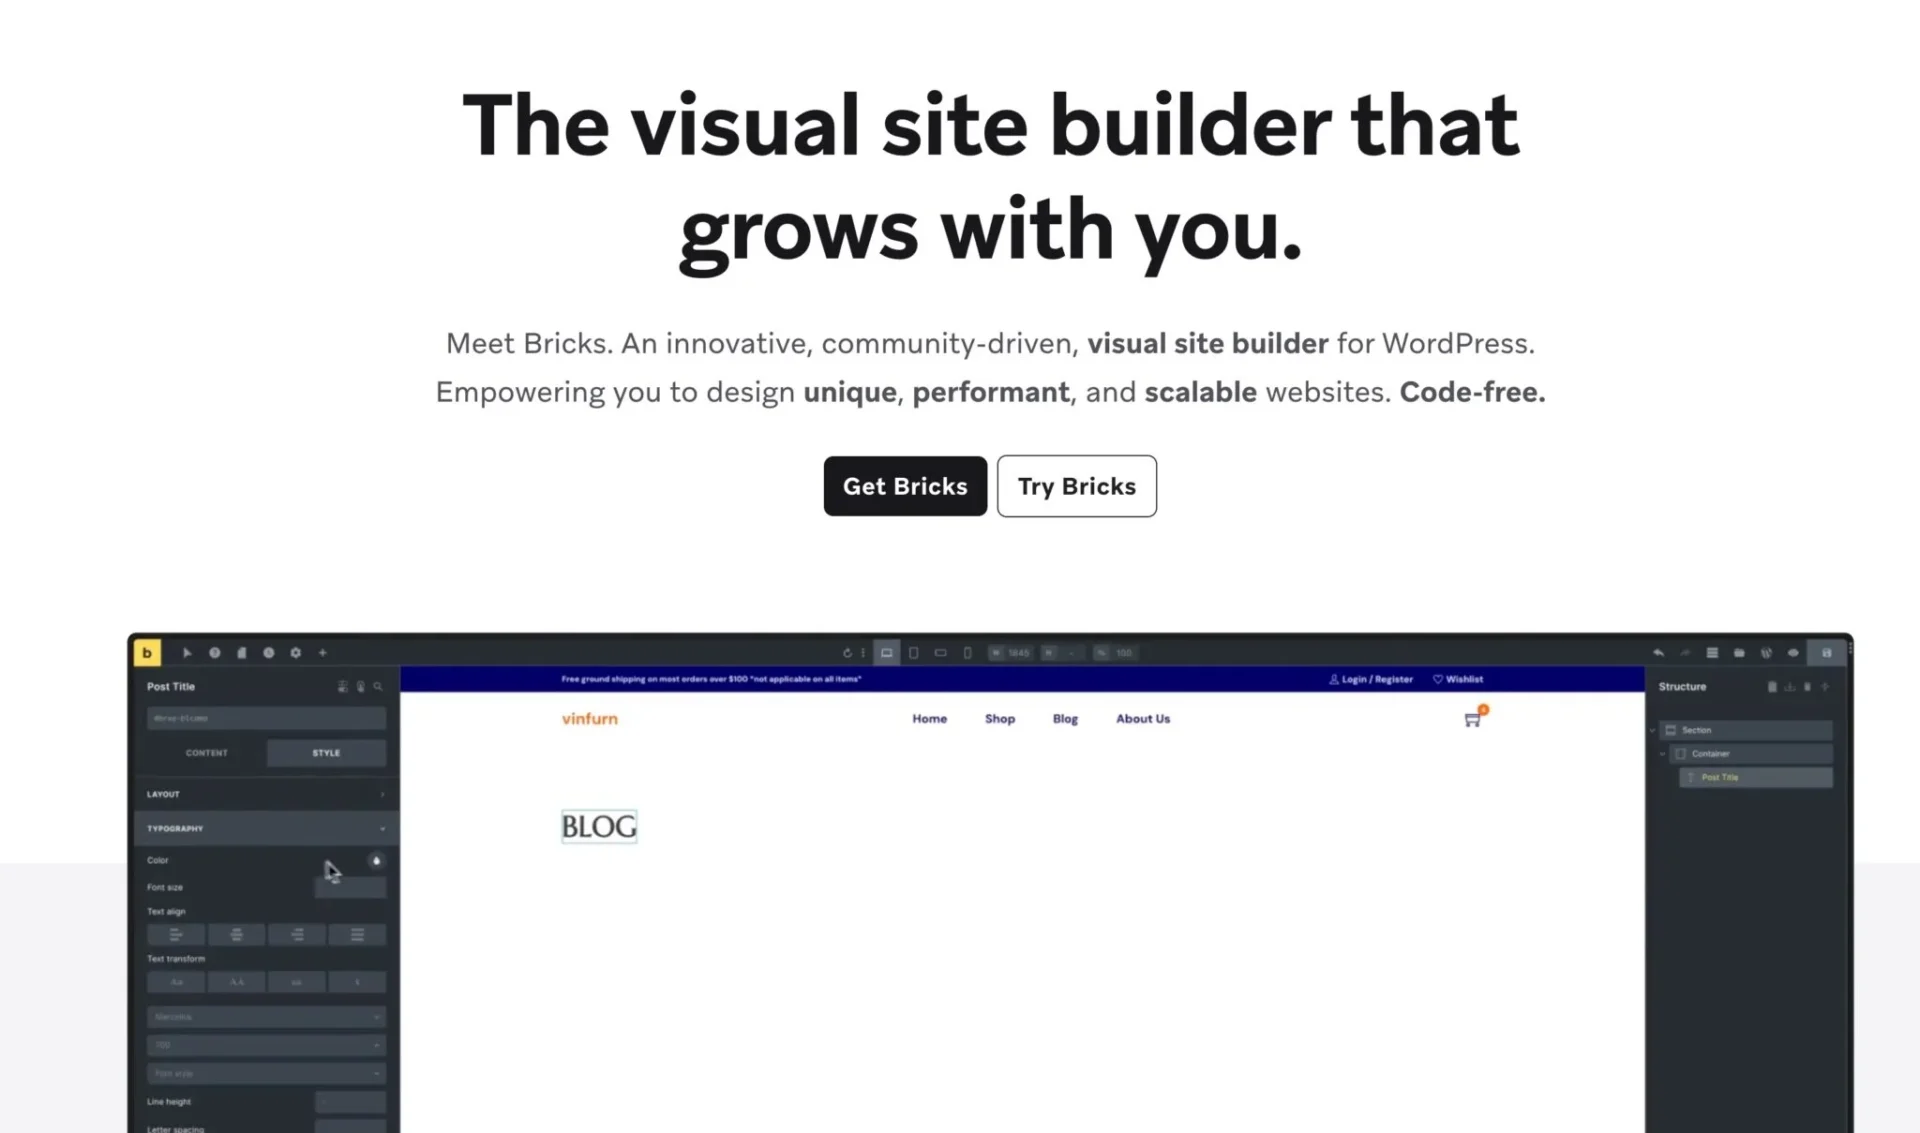
Bricks Builder is the new darling of the page building world, and with excellent reason. It has a similar interface to Elementor, and those that are used to the previous page builder should pick things up quickly.
One major change is its reliance on using a class first system. At first this seems like a massive pain in the rear, but after understanding how html and css works it ends up being a massive time saver when making changes or updates to the site.
It is gaining traction with Elementor users for its speed and ability to hook into the database and create query loops easily.
Pros:
- Easy to maintain
- Fast to load and navigate
- Class based system
Cons:
- Learning Curve
- Limited widgets
What builder should you choose?
When it comes to making the decision between the two most popular builders it depends on two things. Your experience level and your time frame.
If you are more time on your hands and have some experience in either html, css or even Elementor, I would suggest to go with Bricks Builder.
If you are new to the game of website creation, or you’d prefer to use a free page builder to wet your toes, I’d suggest going with Elementor.
Either way you will be well on your way to having a website on the cheap.
Ensure to stay tuned for our next tutorial from Digital Den.

